Drypoint: A Beginner’s Guide
Drypoint is a beautiful printmaking technique where you create an image by directly scratching into a plate. It’s easy to start with minimal materials, and in this guide, I’ll walk you through the steps of preparing, creating, and printing your drypoint image using a plastic plate.
What You'll Need
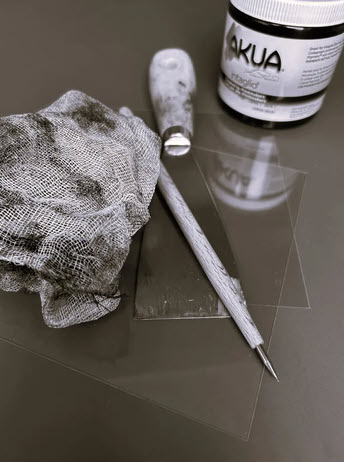
A thin plastic plate (like acrylic or polycarbonate)
Drypoint needle or sharp tool
Ink (I prefer water-based)
Wiping cloths or tarlatan (cheesecloth)
Printmaking paper
Etching press (or an alternative for hand-pressing)
A palette knife or card for applying ink
Soft tissue paper or a roller
Preparing the Plate
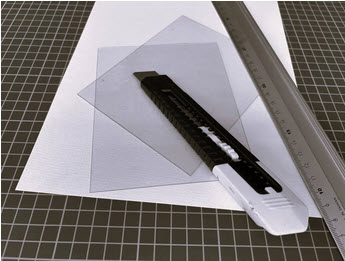
Start by cutting your plastic plate to the desired size if needed. The plate will act as the surface for your drawing. Clean the surface to remove any dust or fingerprints.
Tip: If you find it tricky to draw directly on clear plastic, lightly sand the surface with fine-grit sandpaper. This will give you a bit more grip while drawing.
Drawing Your Image
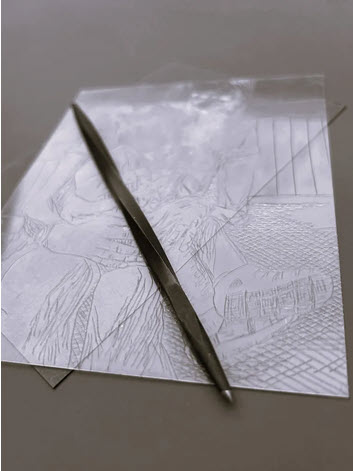
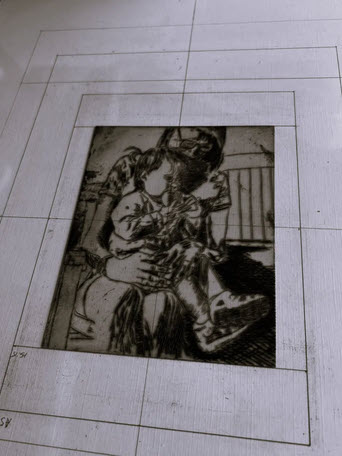
Now, it’s time to create your image! Use a drypoint needle or any sharp tool to draw directly onto the plate. Apply pressure to scratch into the surface; these lines will hold the ink and define your print. Remember, the lines you scratch will appear in reverse when printed, so consider this when designing.
The lines can vary in depth, deeper lines will hold more ink and print darker, while shallower lines will be lighter. You can also experiment with cross-hatching and different textures to add depth.
Inking the Plate
Once your drawing is complete, it’s time to ink the plate. Spread ink across the entire surface using a palette knife or card. Be sure the ink fills all the grooves you’ve scratched into the plate.
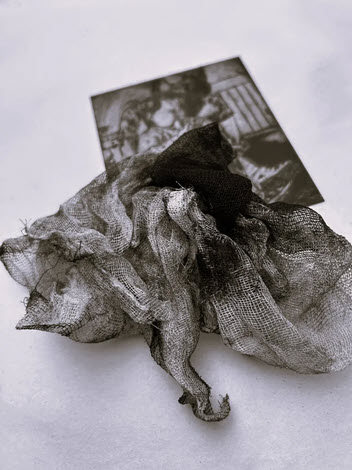
Next, wipe the surface with a cloth or tarlatan in circular motions to remove excess ink. You want to leave ink only in the lines you’ve etched while wiping the surface clean. You can finish with soft tissue paper or a roller to ensure the smooth areas are clean, but be careful not to lift ink from the grooves.
Tip: You can experiment with leaving some ink on the plate for tonal effects.
Preparing and Printing the Image
While you’re inking the plate, soak your printmaking paper in water for about 10 minutes, then blot it dry until it’s just damp. The dampness helps the paper absorb the ink more effectively.
Place your inked plate face up on the press bed. Carefully lay your damp paper on top of the plate, followed by some layers of newsprint or a protective blanket.
If you have an etching press, roll it through with even pressure. If you don’t have a press, you can hand-press by using a roller, wooden spoon, or a baren to apply pressure evenly over the back of the paper.
Latest Blog Posts
Sweet Cherries
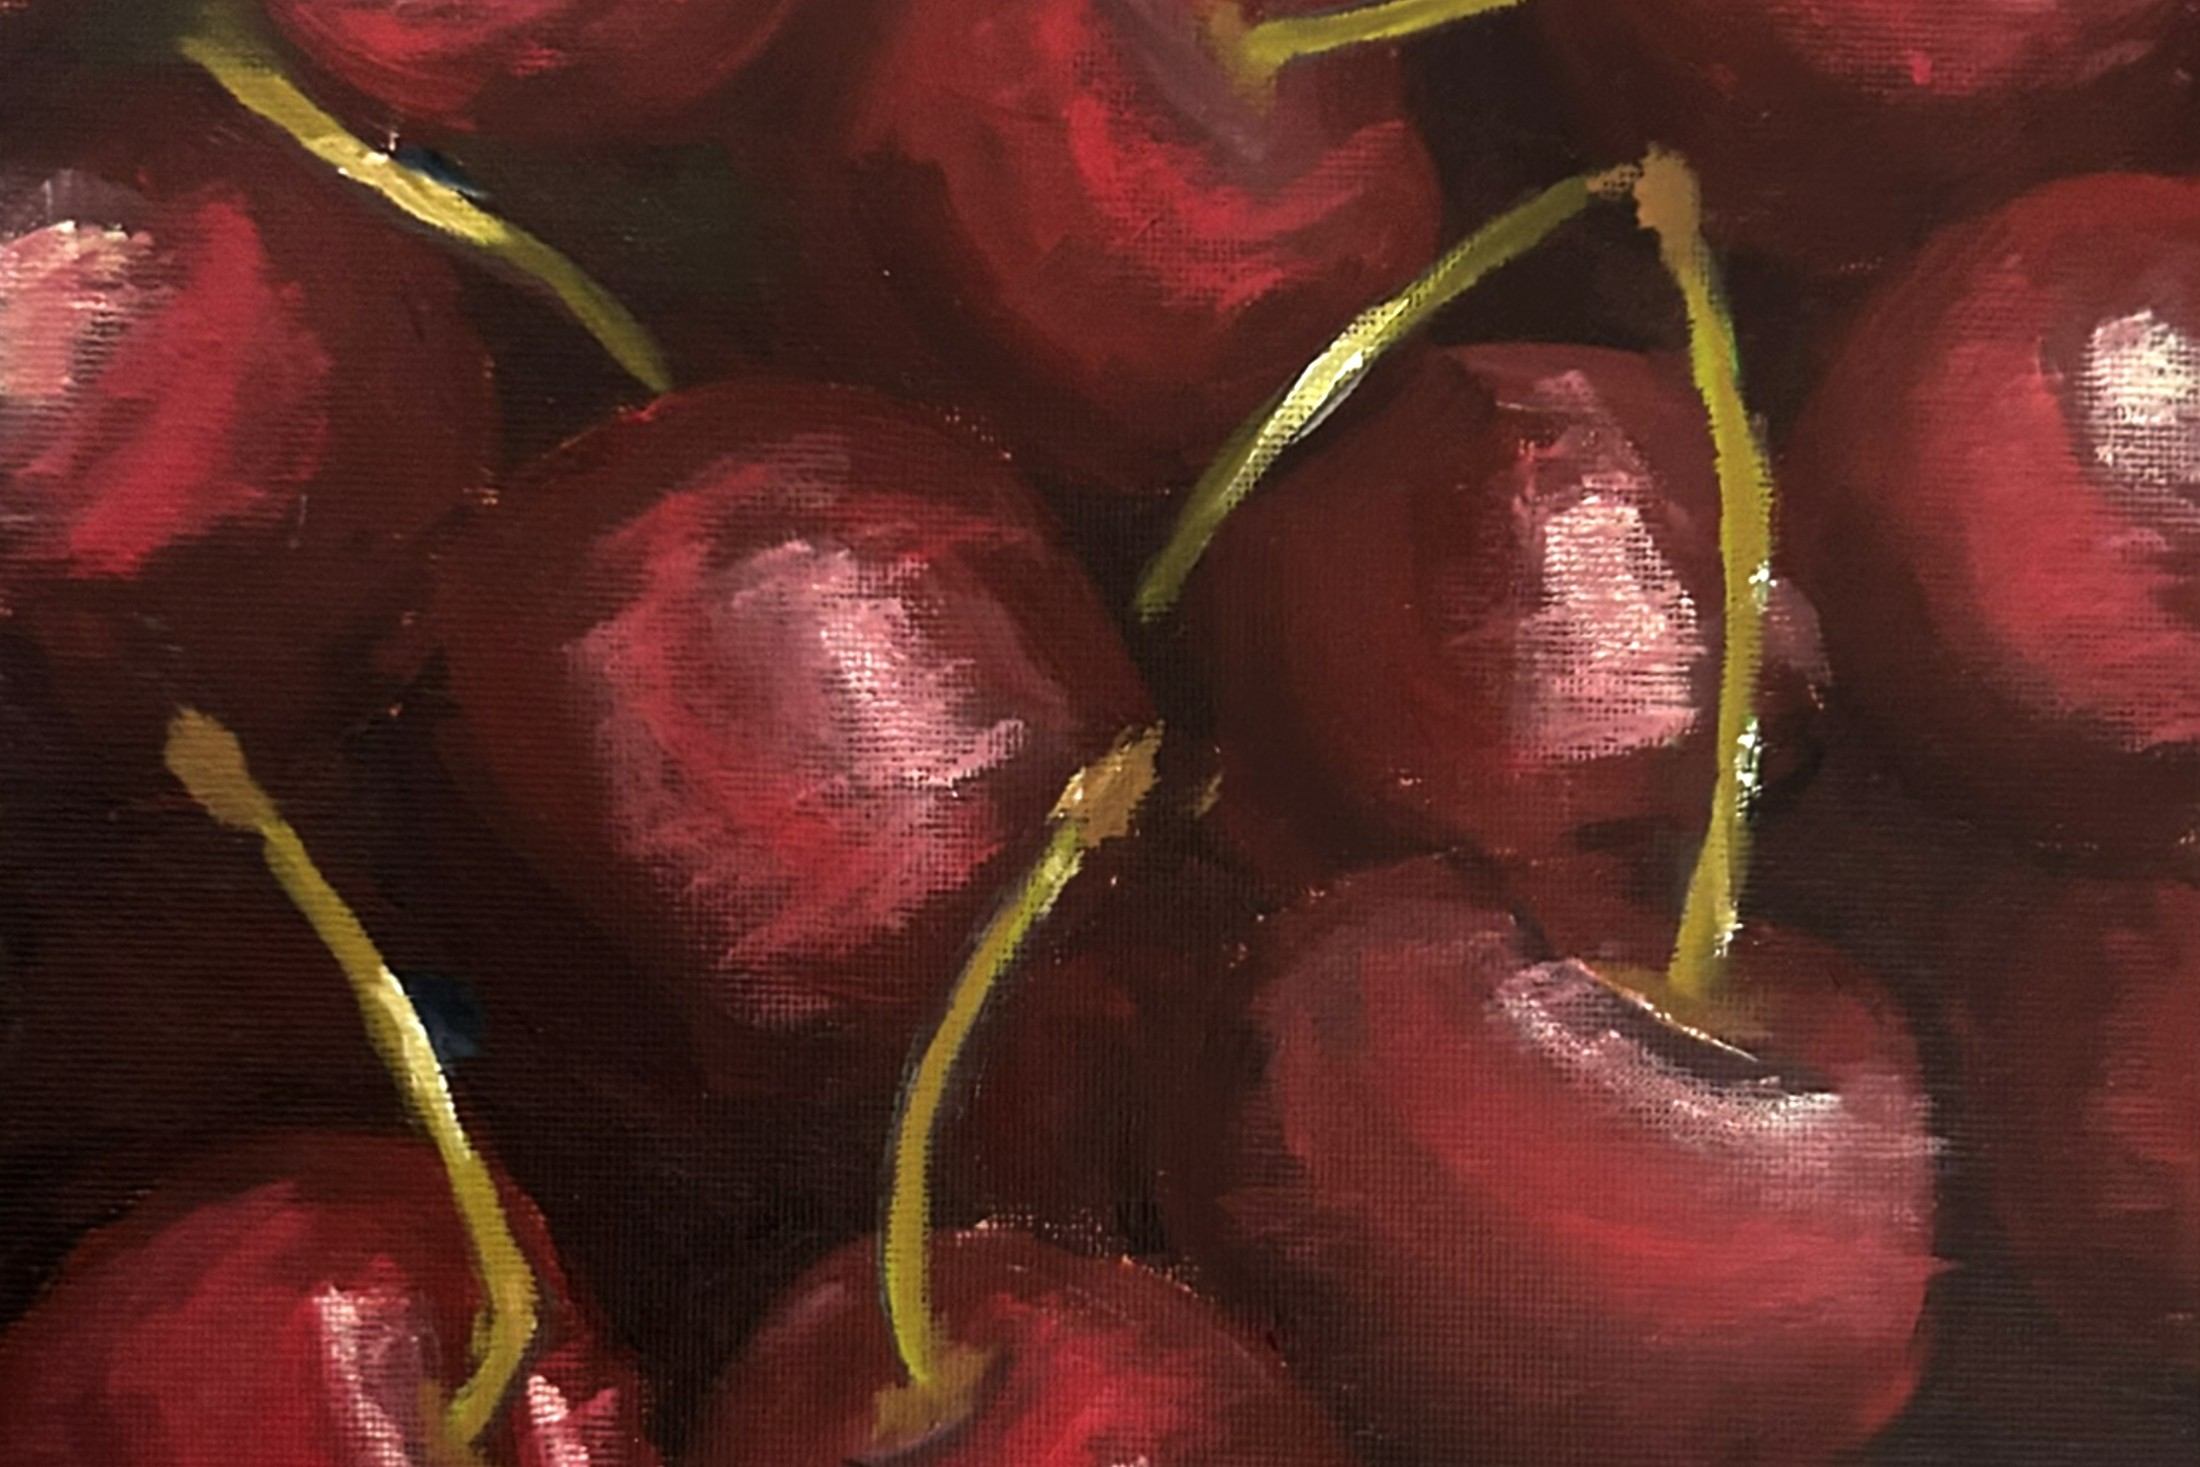
Another finished oil painting, again on a small canvas board, this time featuring sweet, ripe cherries.
Just One Egg
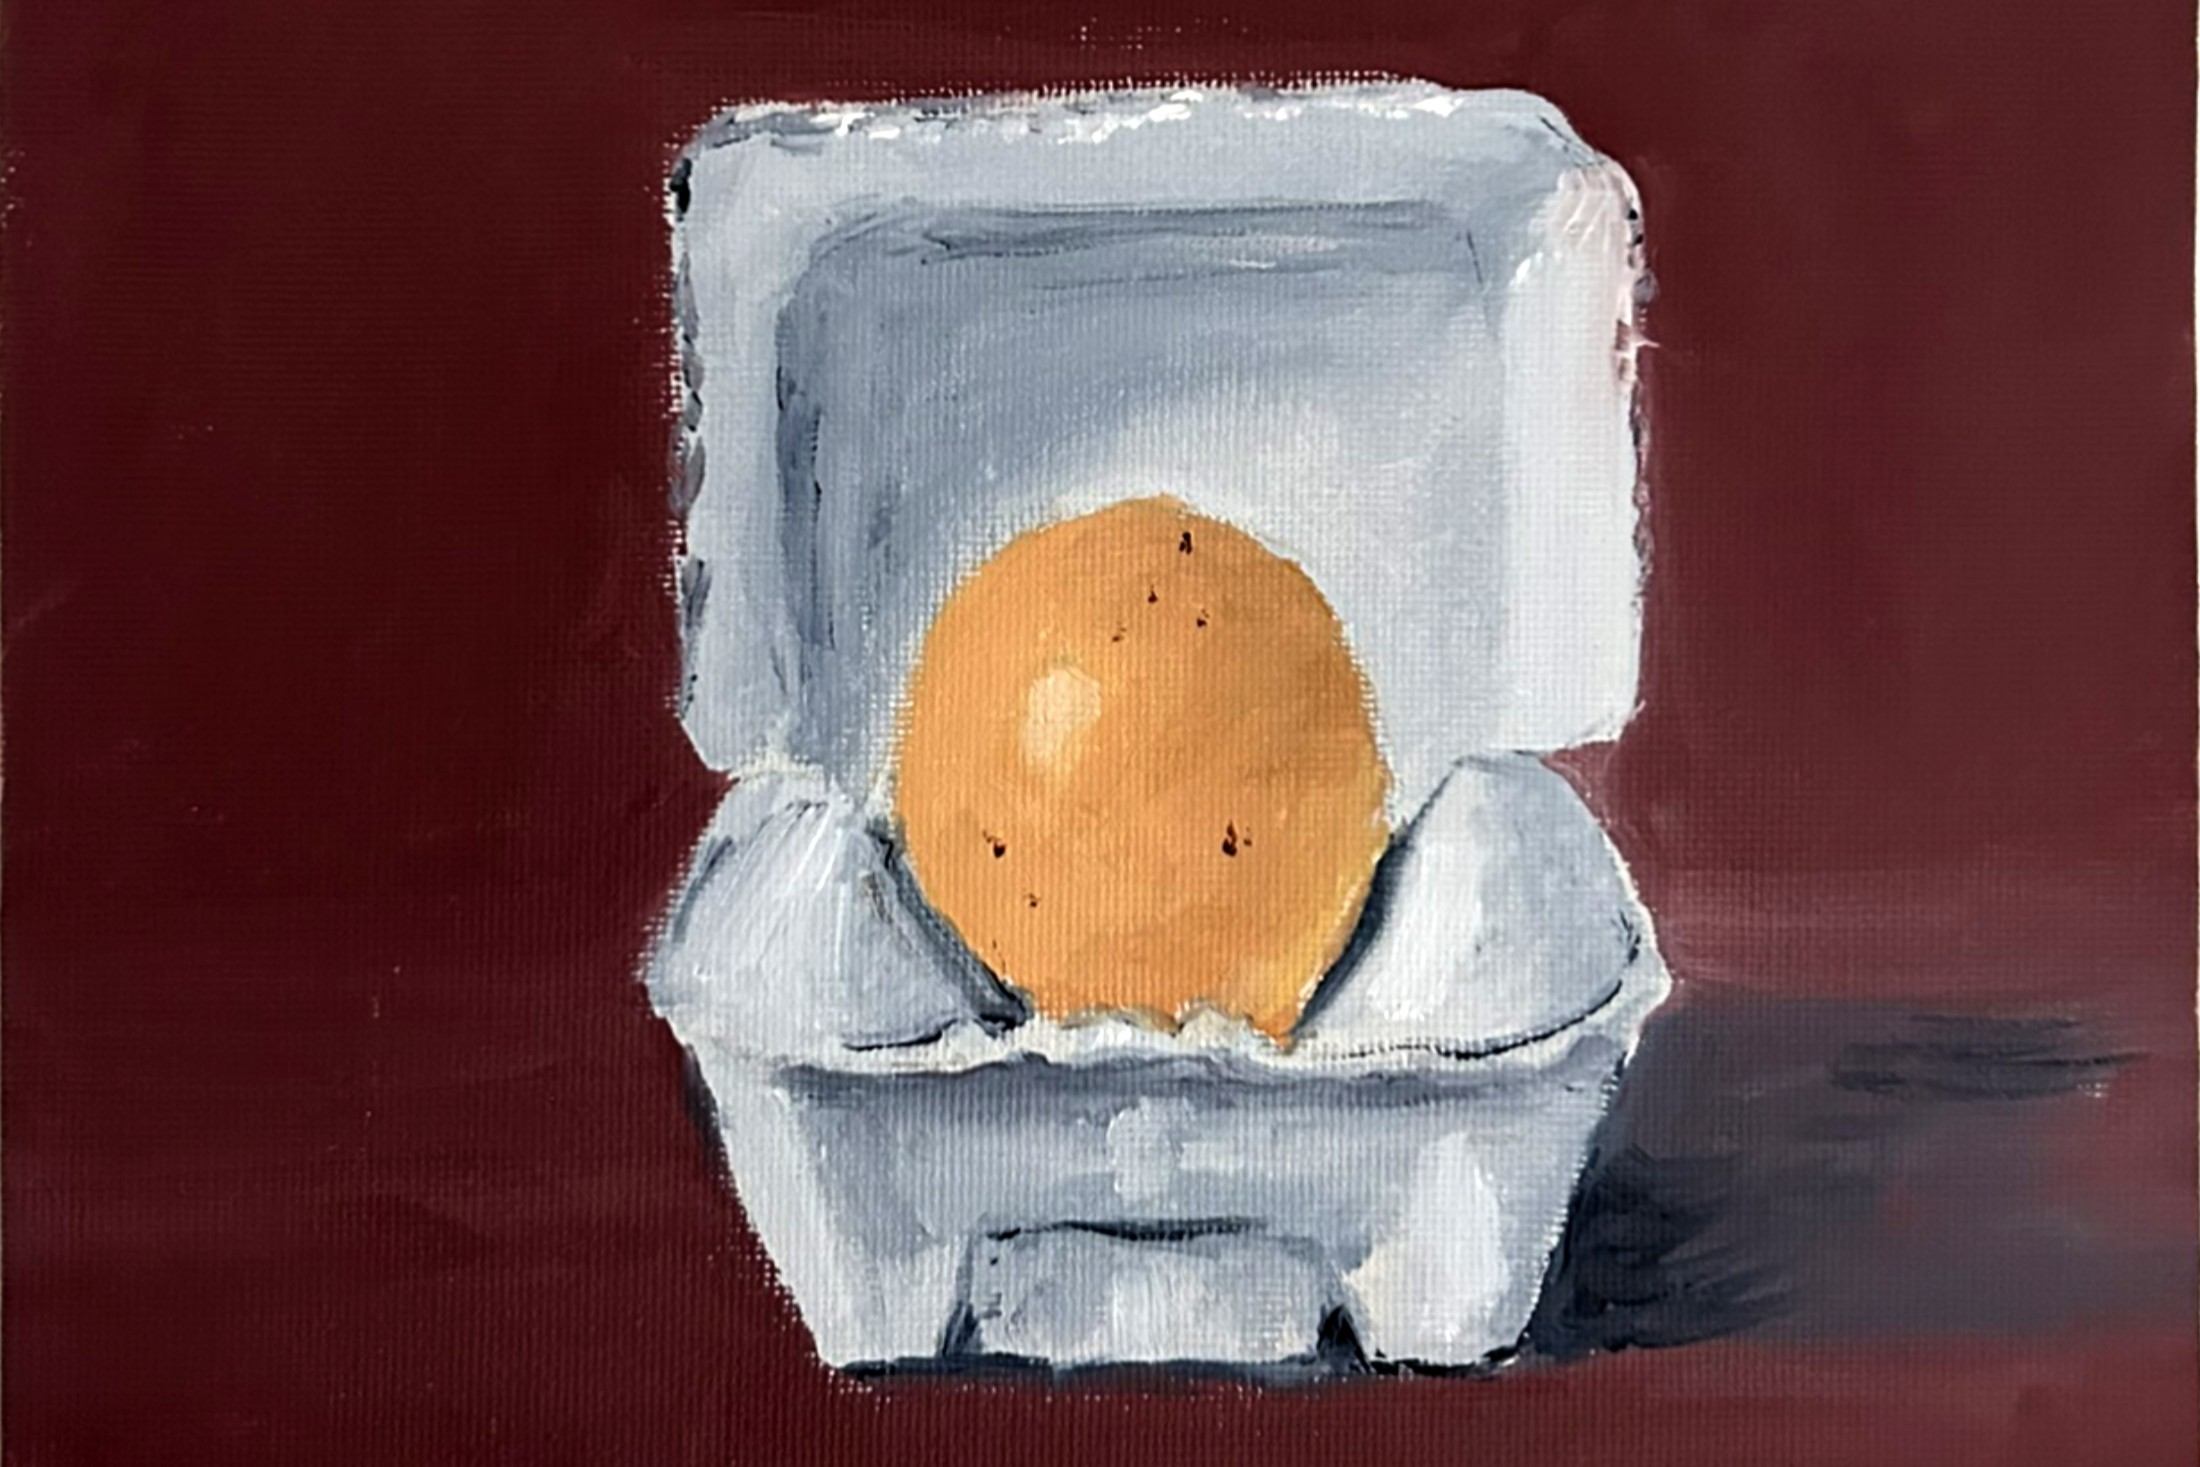
A few months ago, I bought some oil paints for the first time, simply to experiment and discover how they look and feel compared with acrylics and gouache. It turned out to be a surprisingly rewarding…
Frogs and Dogs
As I mentioned in my previous blog post, I’ve been returning to gelli printing this past week and experimenting with a range of techniques. It has been a refreshing way to get back into the studio: pl…